
You can export CSV of the AI fields generated by Tuesday and then upload those as Contact Properties to your HubSpot CRM.
Then, you’ll also have the option of using these AI fields (such as email snippets or entire email messages) directly in your sales automation or marketing newsletter emails.
1. Prepare CSV File for Upload
We will need to create a CSV file with person’s
First Name, Last Name, Email, Company Name, LinkedIn URL and any Tuesday AI fields you wish to include.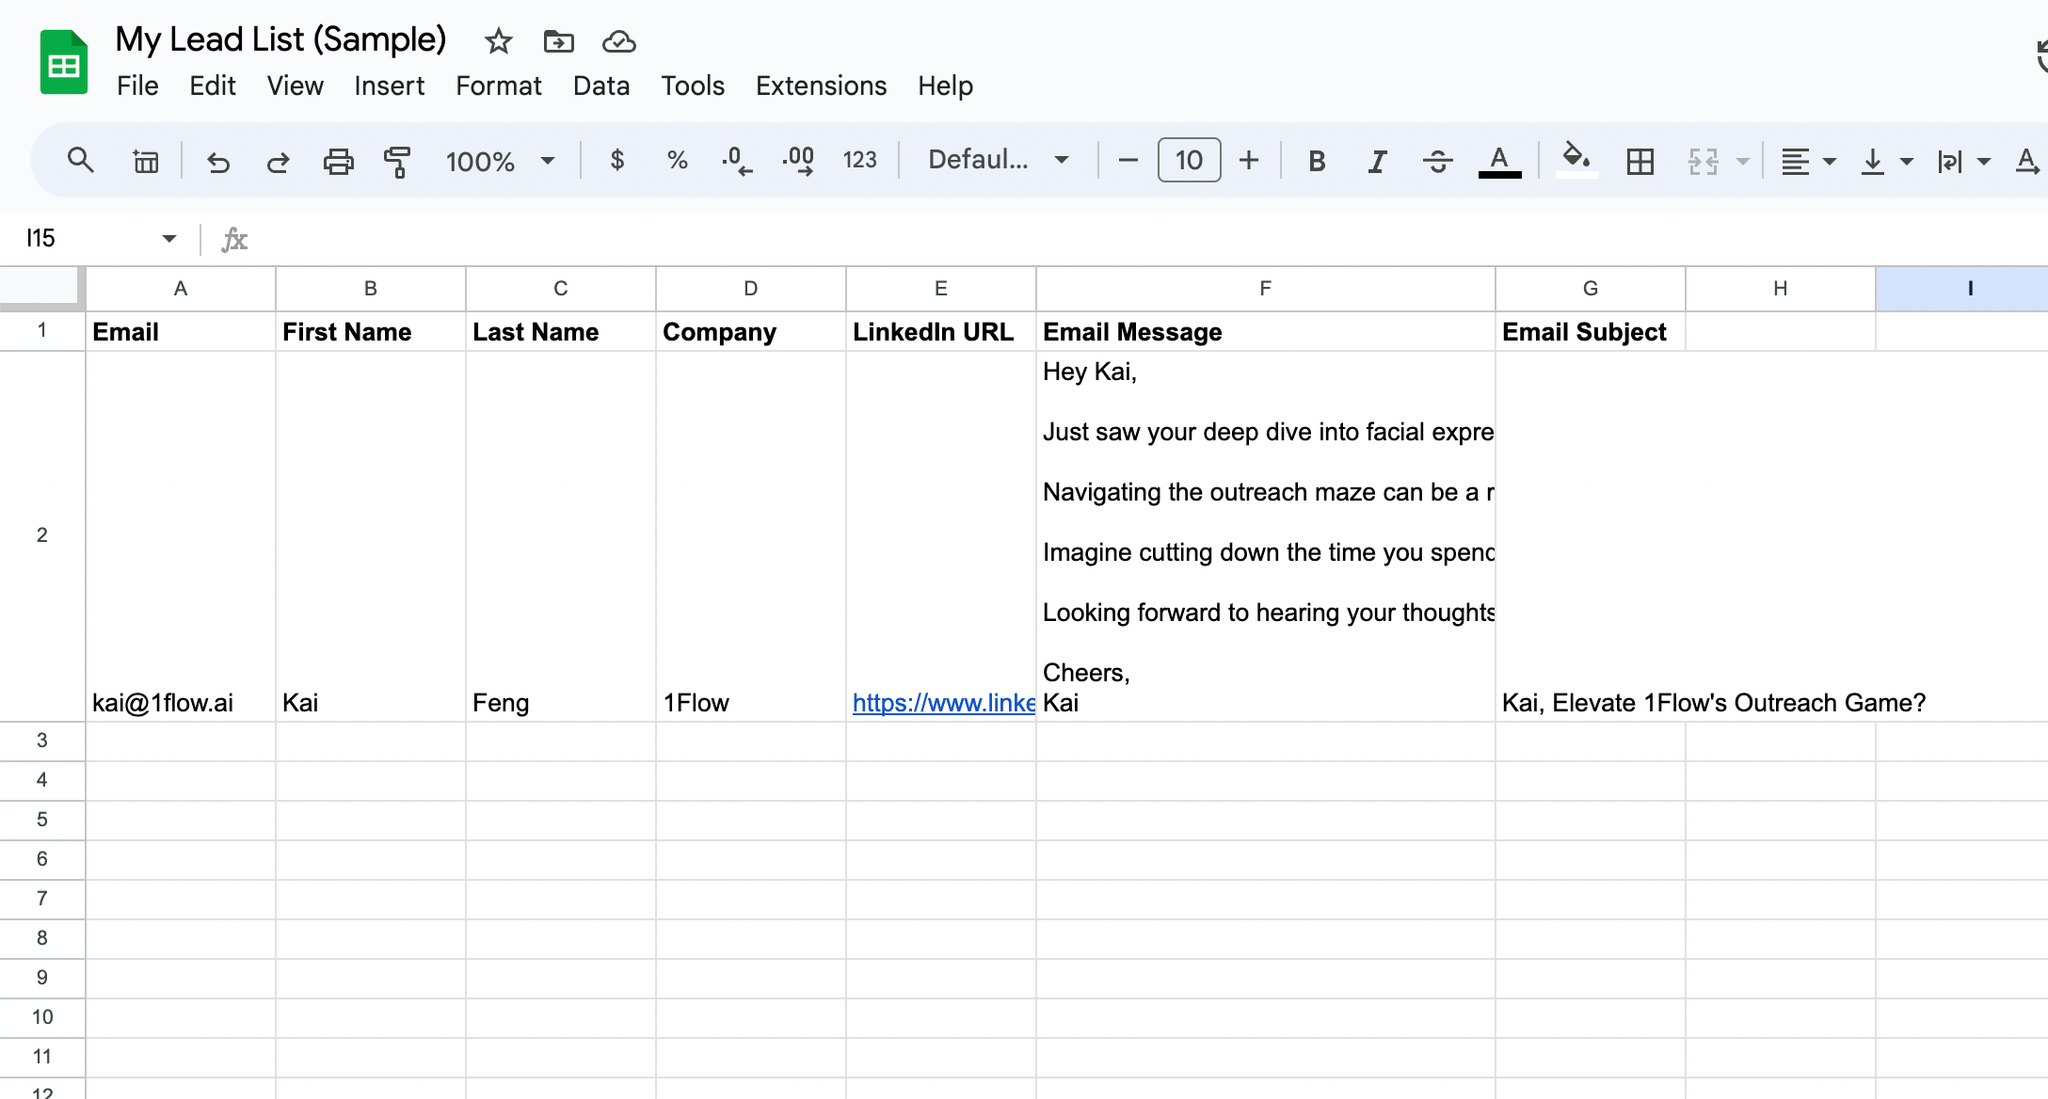
Now let’s prepare this CSV file by following the steps below:
Export Tuesday worksheet to CSV
- Open the worksheet that contains the Tuesday AI fields you want to enrich your Hubspot contacts with (e.g.
Email MessageandEmail Subject)
- Click on Export CSV button to download CSV file
- Open the downloaded CSV file
We recommend opening the downloaded CSV file with Google Sheet, because it handles special characters well (unlike Excel).
To use Google Sheet to open CSV, simply open a blank Google Sheet file and click on File → Import → Upload and select the export file to upload.
- Delete
LinkedIn Datacolumn (if it’s there) - you won’t need this raw data, so deleting it will make the process faster
Prepare full CSV file with required columns
Now that we’ve got this CSV file with LinkedIn URL, Email Message, and Email Subject fields, the next step is to add the required columns:
- First Name
- Last Name
- Company
You should end up with a single file that contains both the above required columns and any AI fields you want added to HubSpot.
Click on File → Download → CSV to download CSV file. We’ll upload this into HubSpot next.
2. Import Contacts in HubSpot
Now let’s import the CSV file we prepared in Step 1 into your HubSpot account.
- Log into your HubSpot account
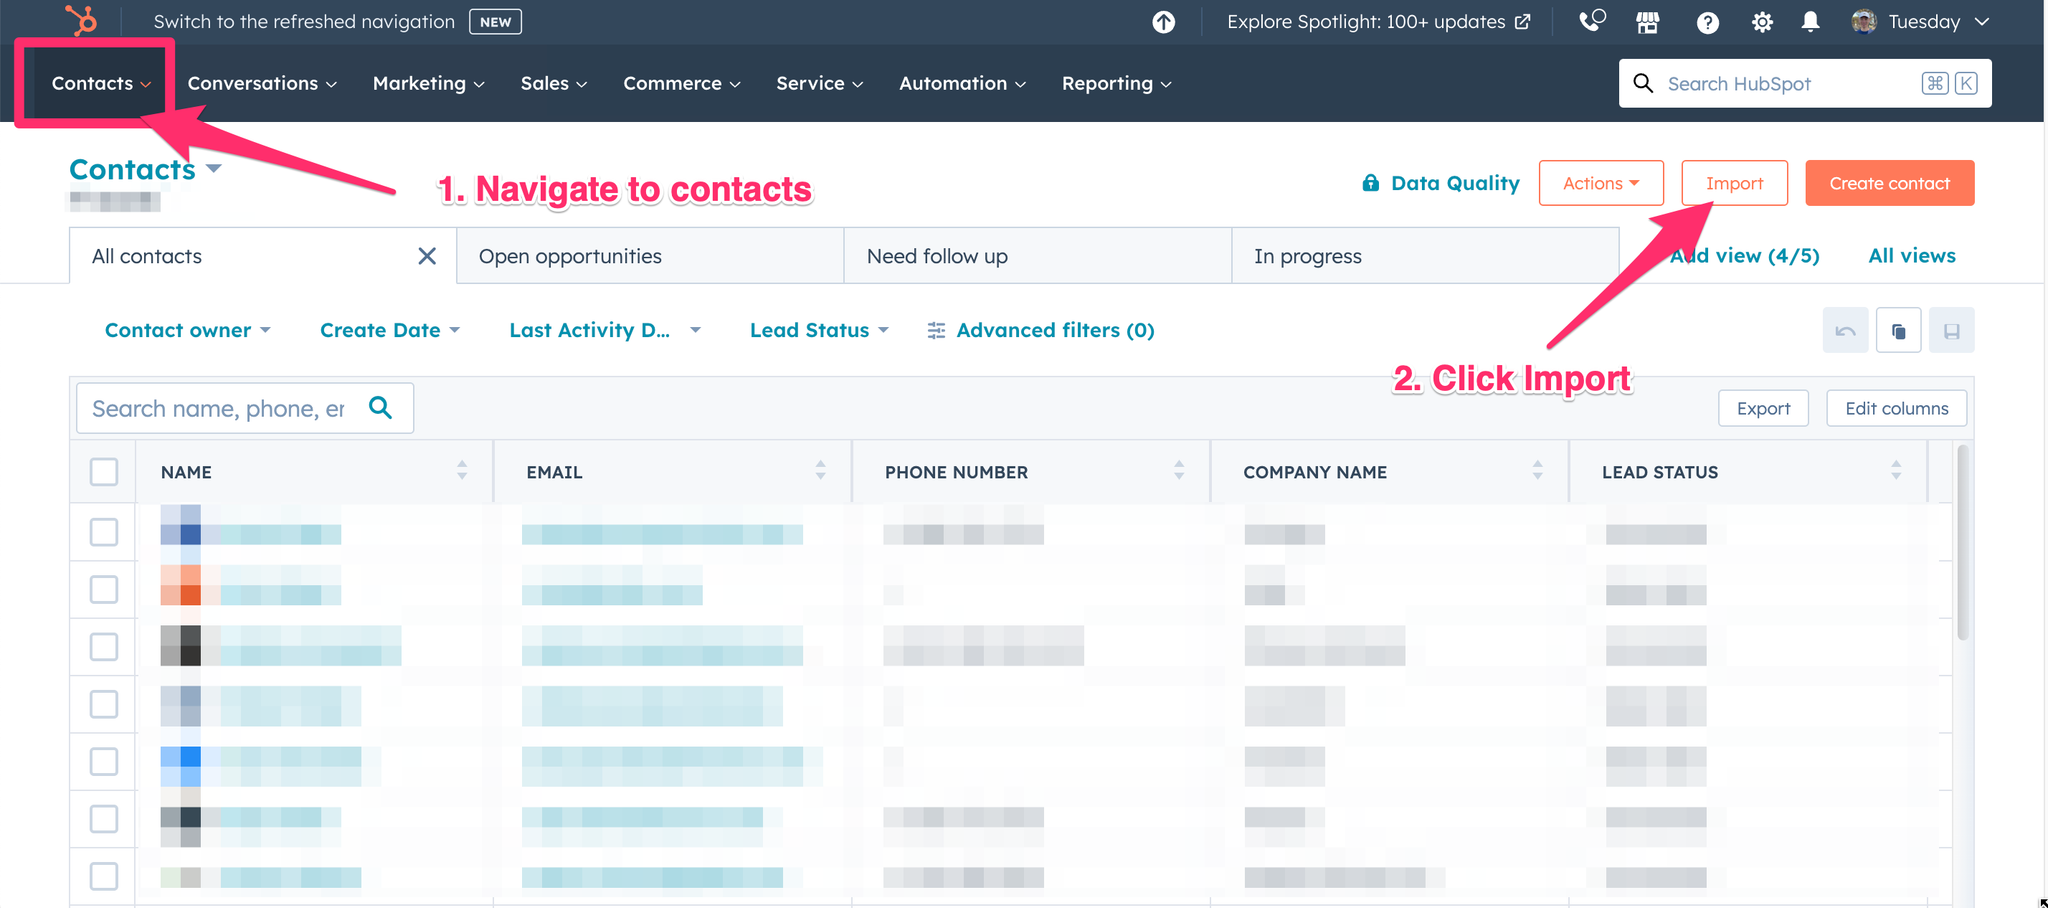
- Navigate to Contacts page
- Click the Import button
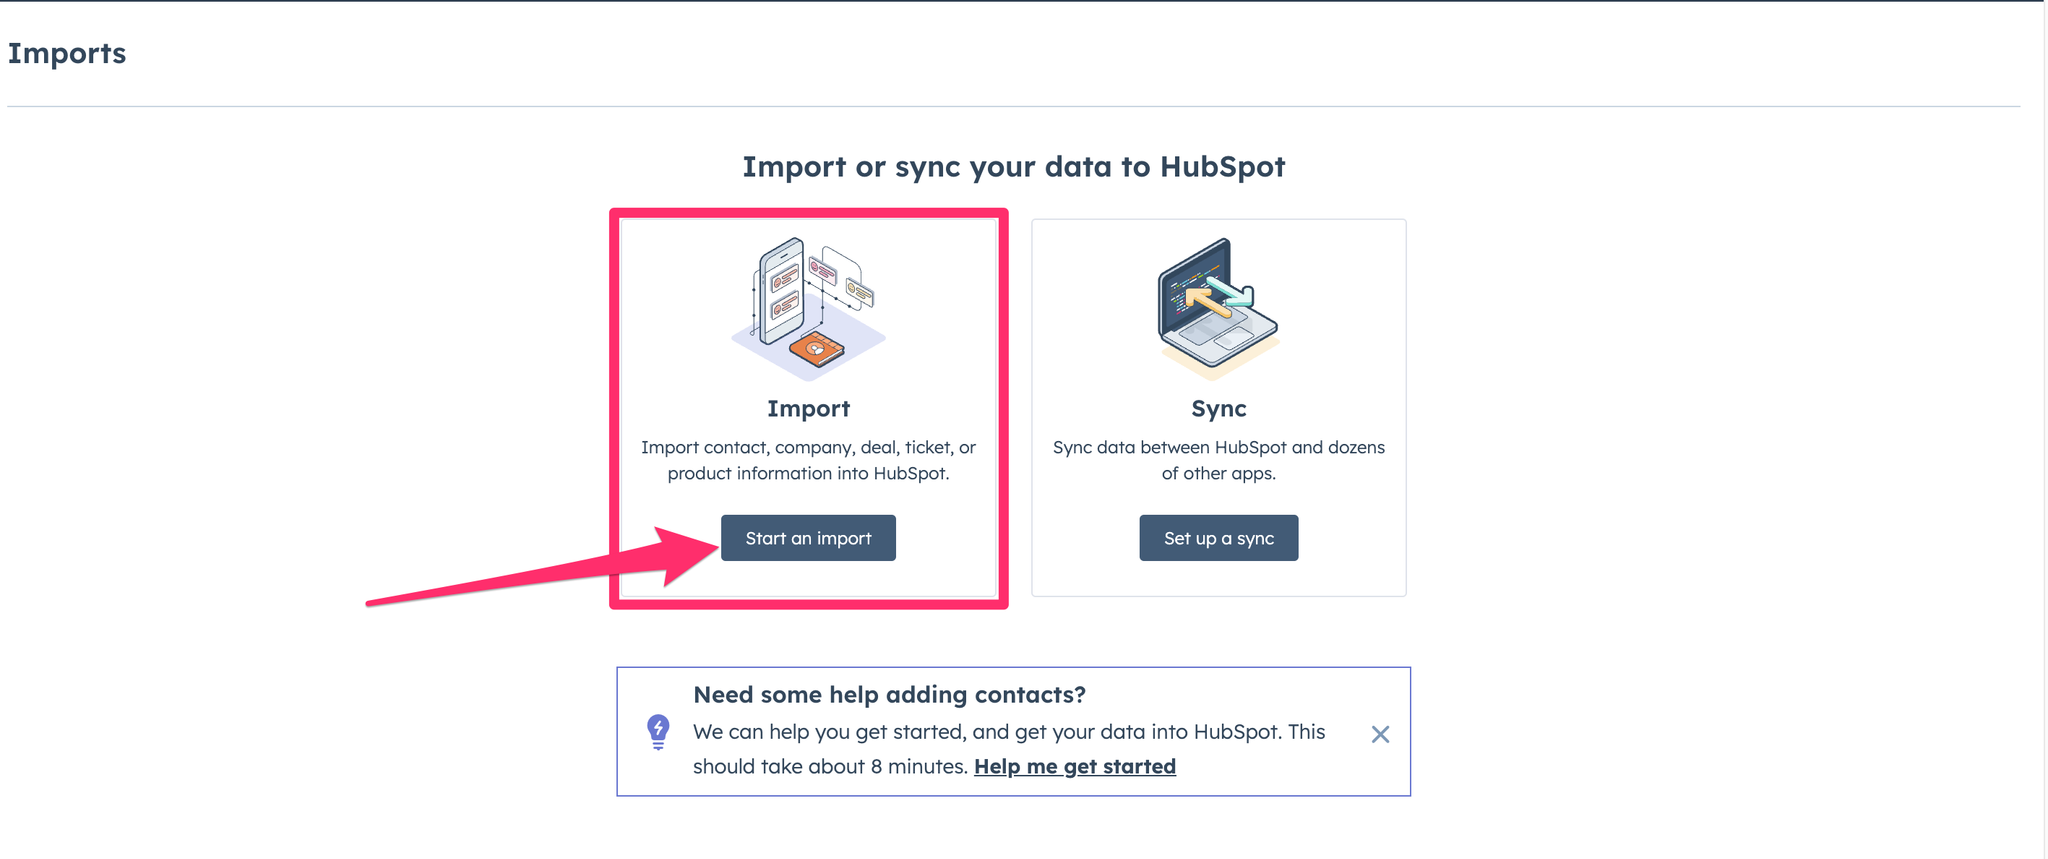
- Choose Import by clicking Start an import
- Choose Import file from computer, then hit Next
- Choose One File, then hit Next
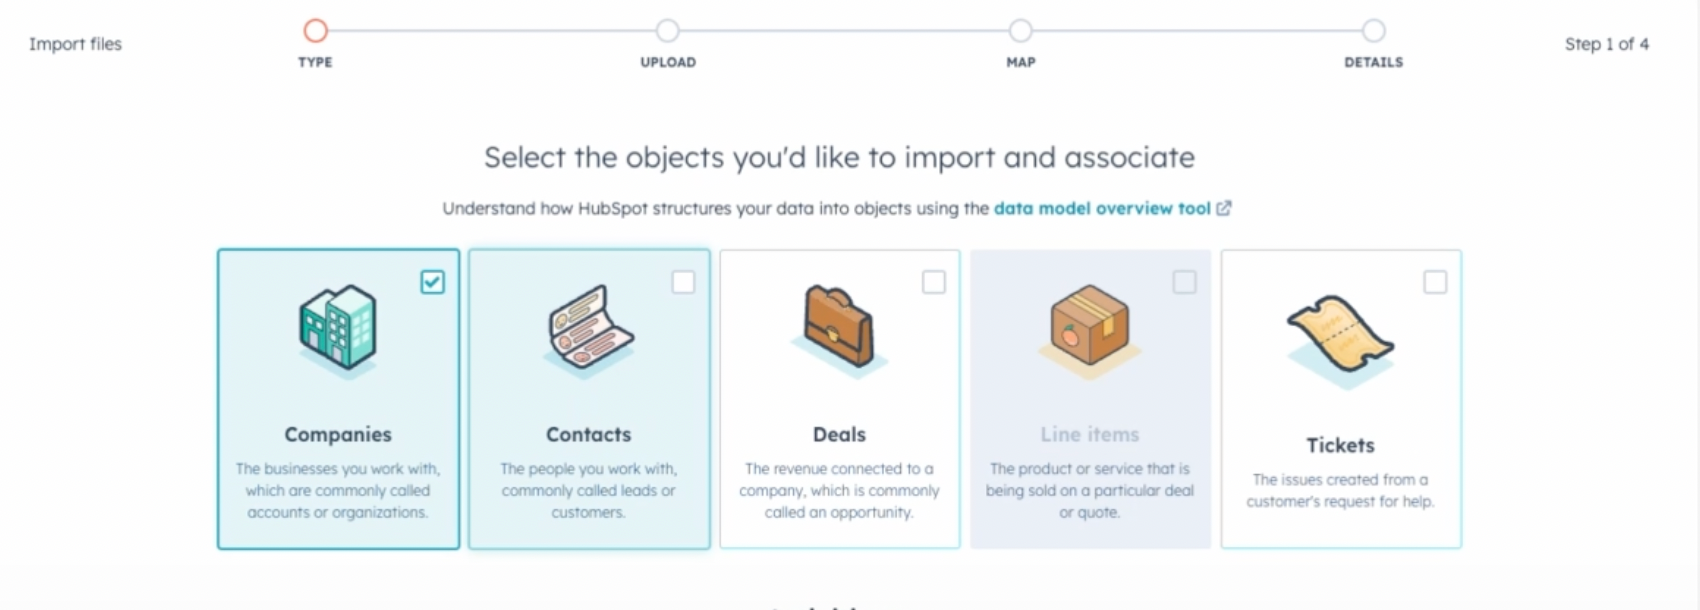
- Select Multiple Objects if you want to create company records associated with the contact, otherwise select One Object
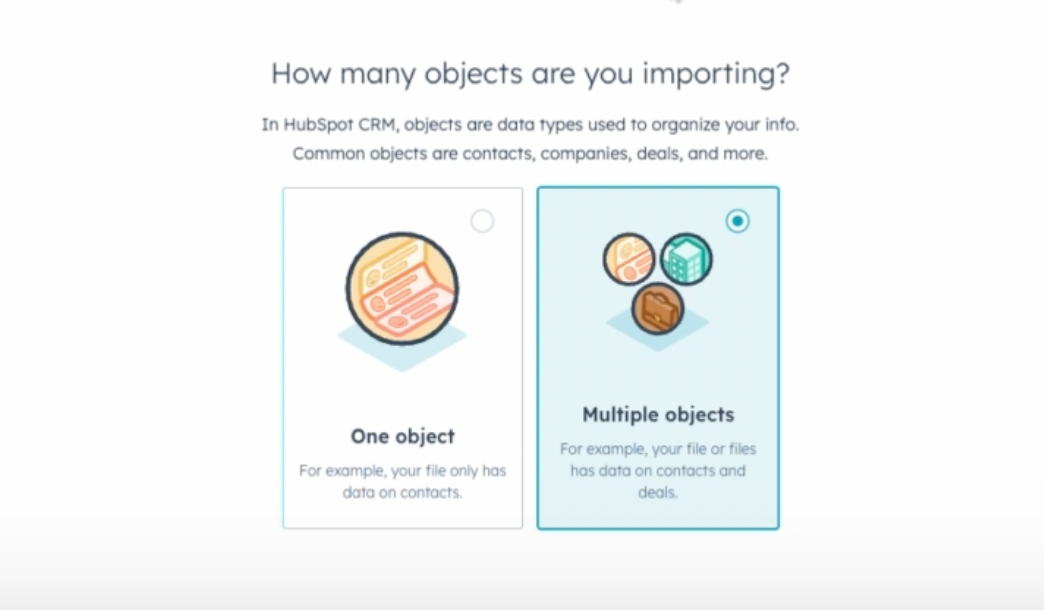
We recommend selecting Multiple Objects
- Select Companies and Contacts, then hit Next
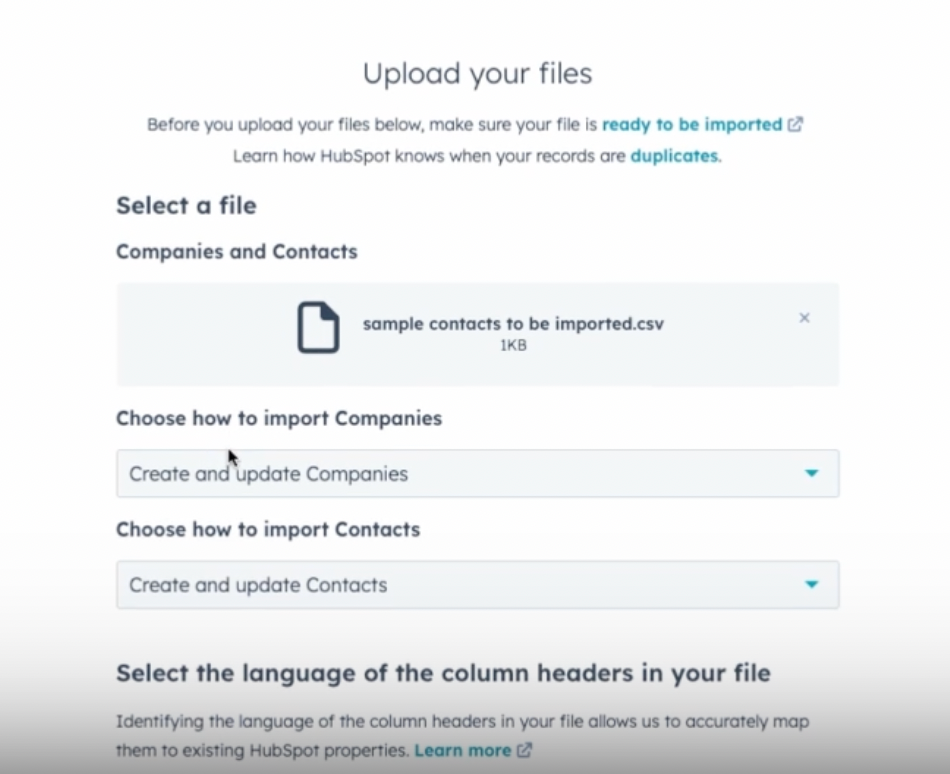
- Upload the CSV file you prepared in Step 1. Choose
Create and update CompaniesandCreate and update Contactsfrom the dropdown menus below the upload field.
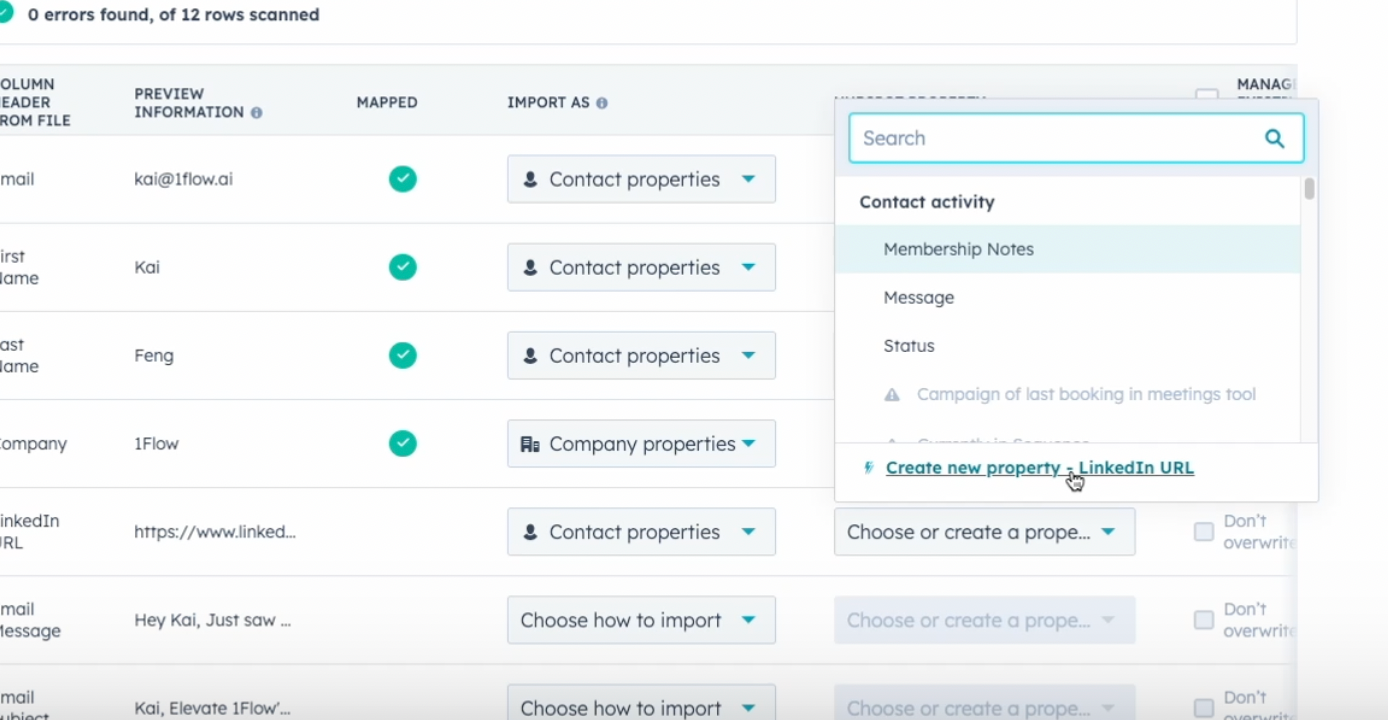
- Map columns from the CSV file to Contact / Company Properties
Column Header from File | Import as | HubSpot Property |
Email | Contact properties | Email |
First Name | Contact properties | First Name |
Last Name | Contact properties | Last Name |
Company | Company properties | Company name |
LinkedIn URL | Contact properties | (Create a property) |
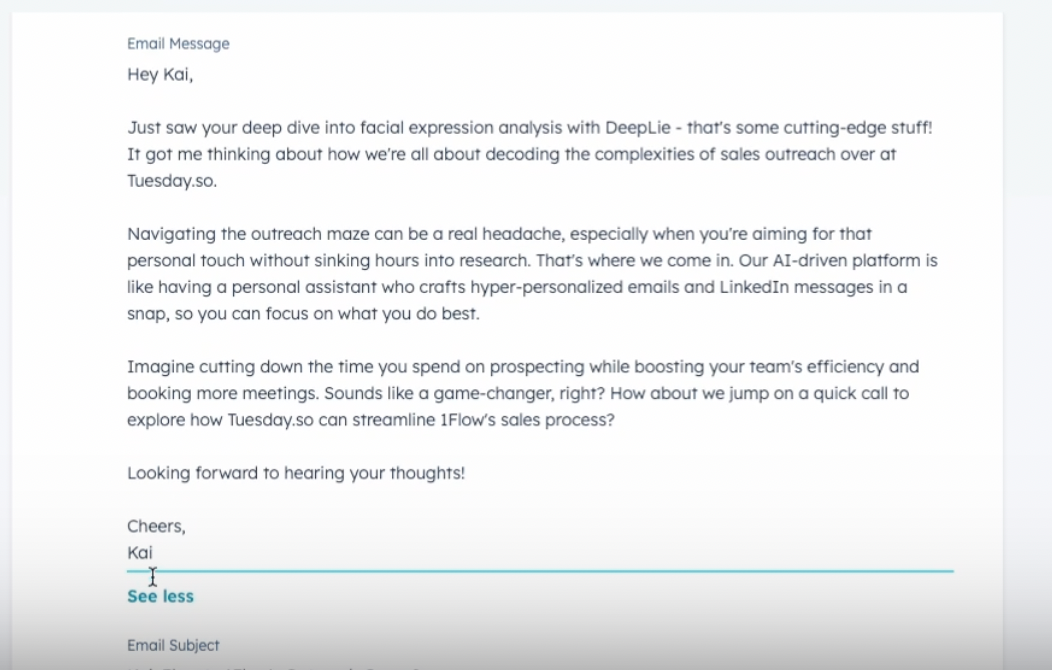
Email Message | Contact properties | (Create a property) |
Email Subject | Contact properties | (Create a property) |

- Create new property if it doesn’t exist yet in HubSpot (by clicking on link
Create new propertyfrom the bottom of dropdown menu) View video tutorial 05:04
- Finish import - your import is now in progress and will finish soon.
You can view the new contacts in Contacts page of HubSpot. Click into any newly imported contact to view contact properties.
Congratulations! You’ve now successfully imported AI fields from Tuesday into your HubSpot account as Contact properties. Now, use these properties in your sales automation workflows within HubSpot.
3. Insert Contact Properties in Emails
- Go to Automation → Sequences and open a sequence
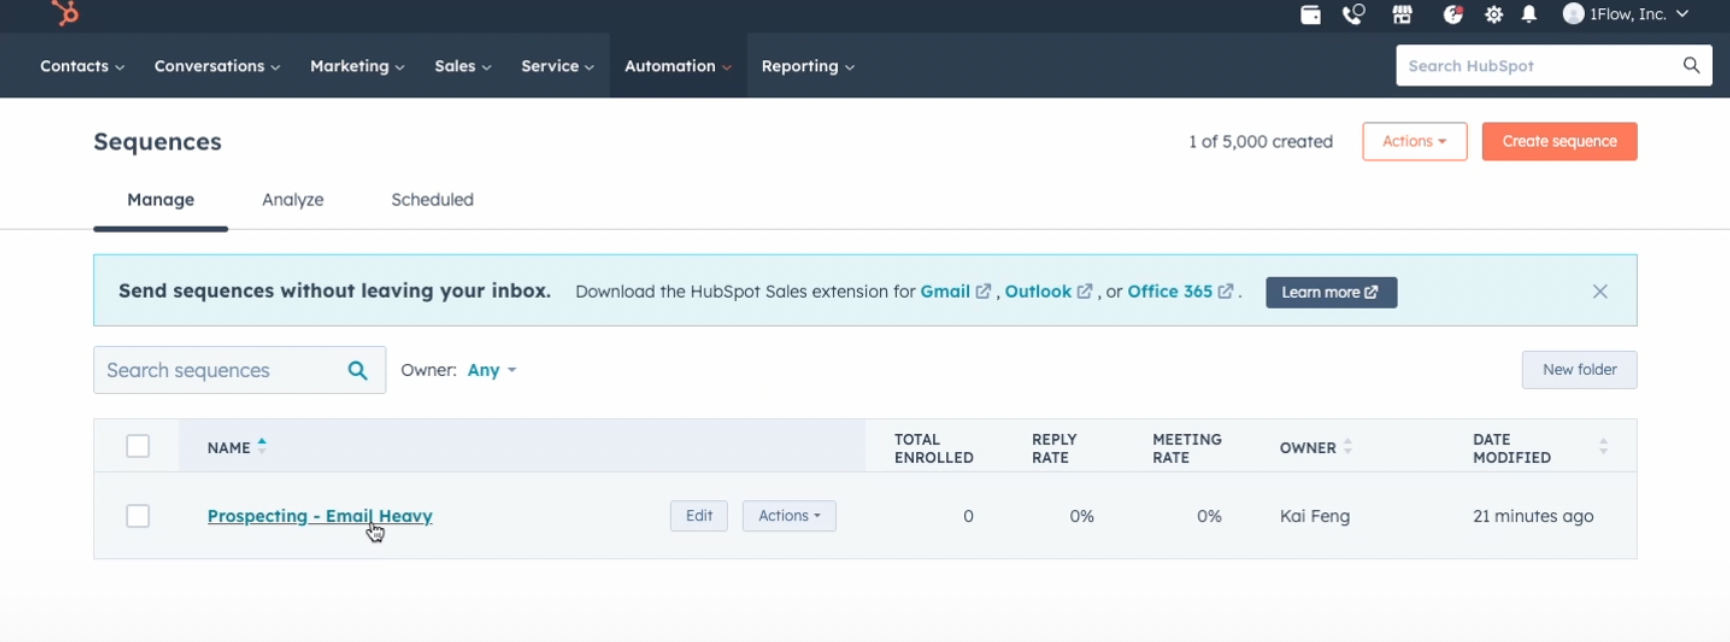
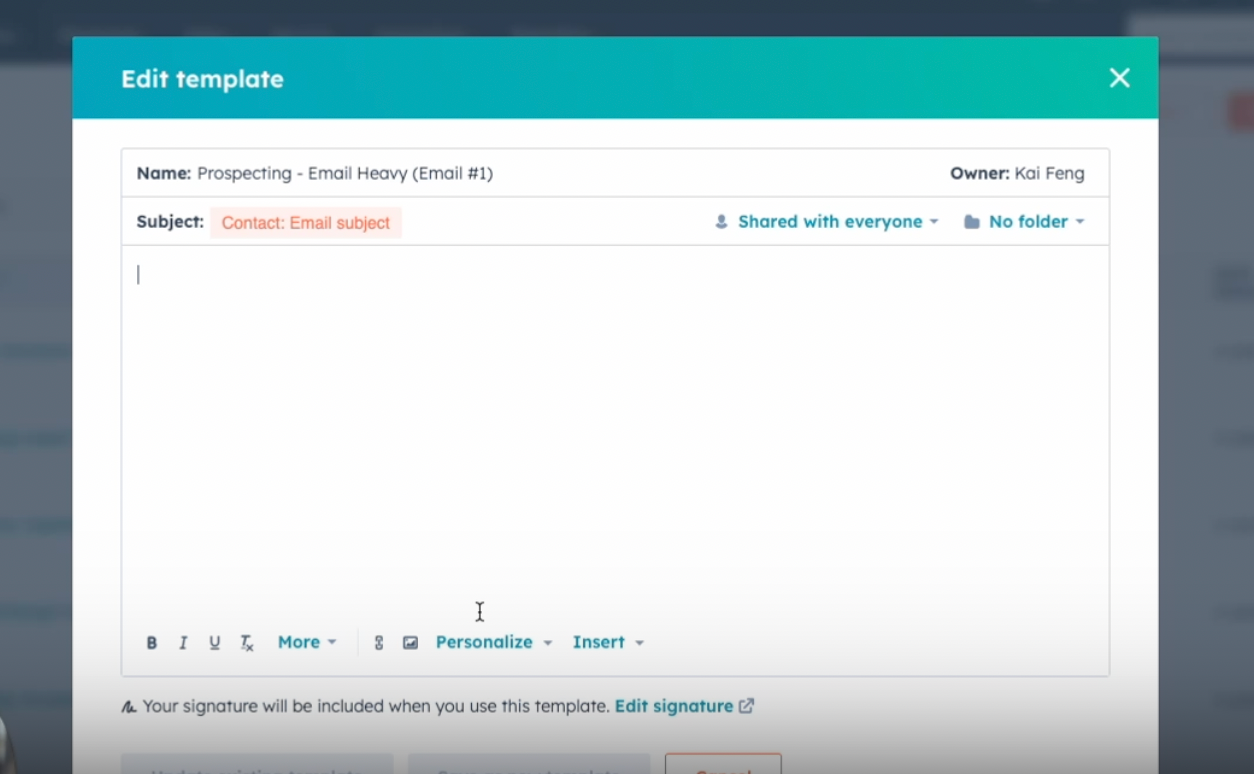
- Click on the email you’d like to edit to edit template
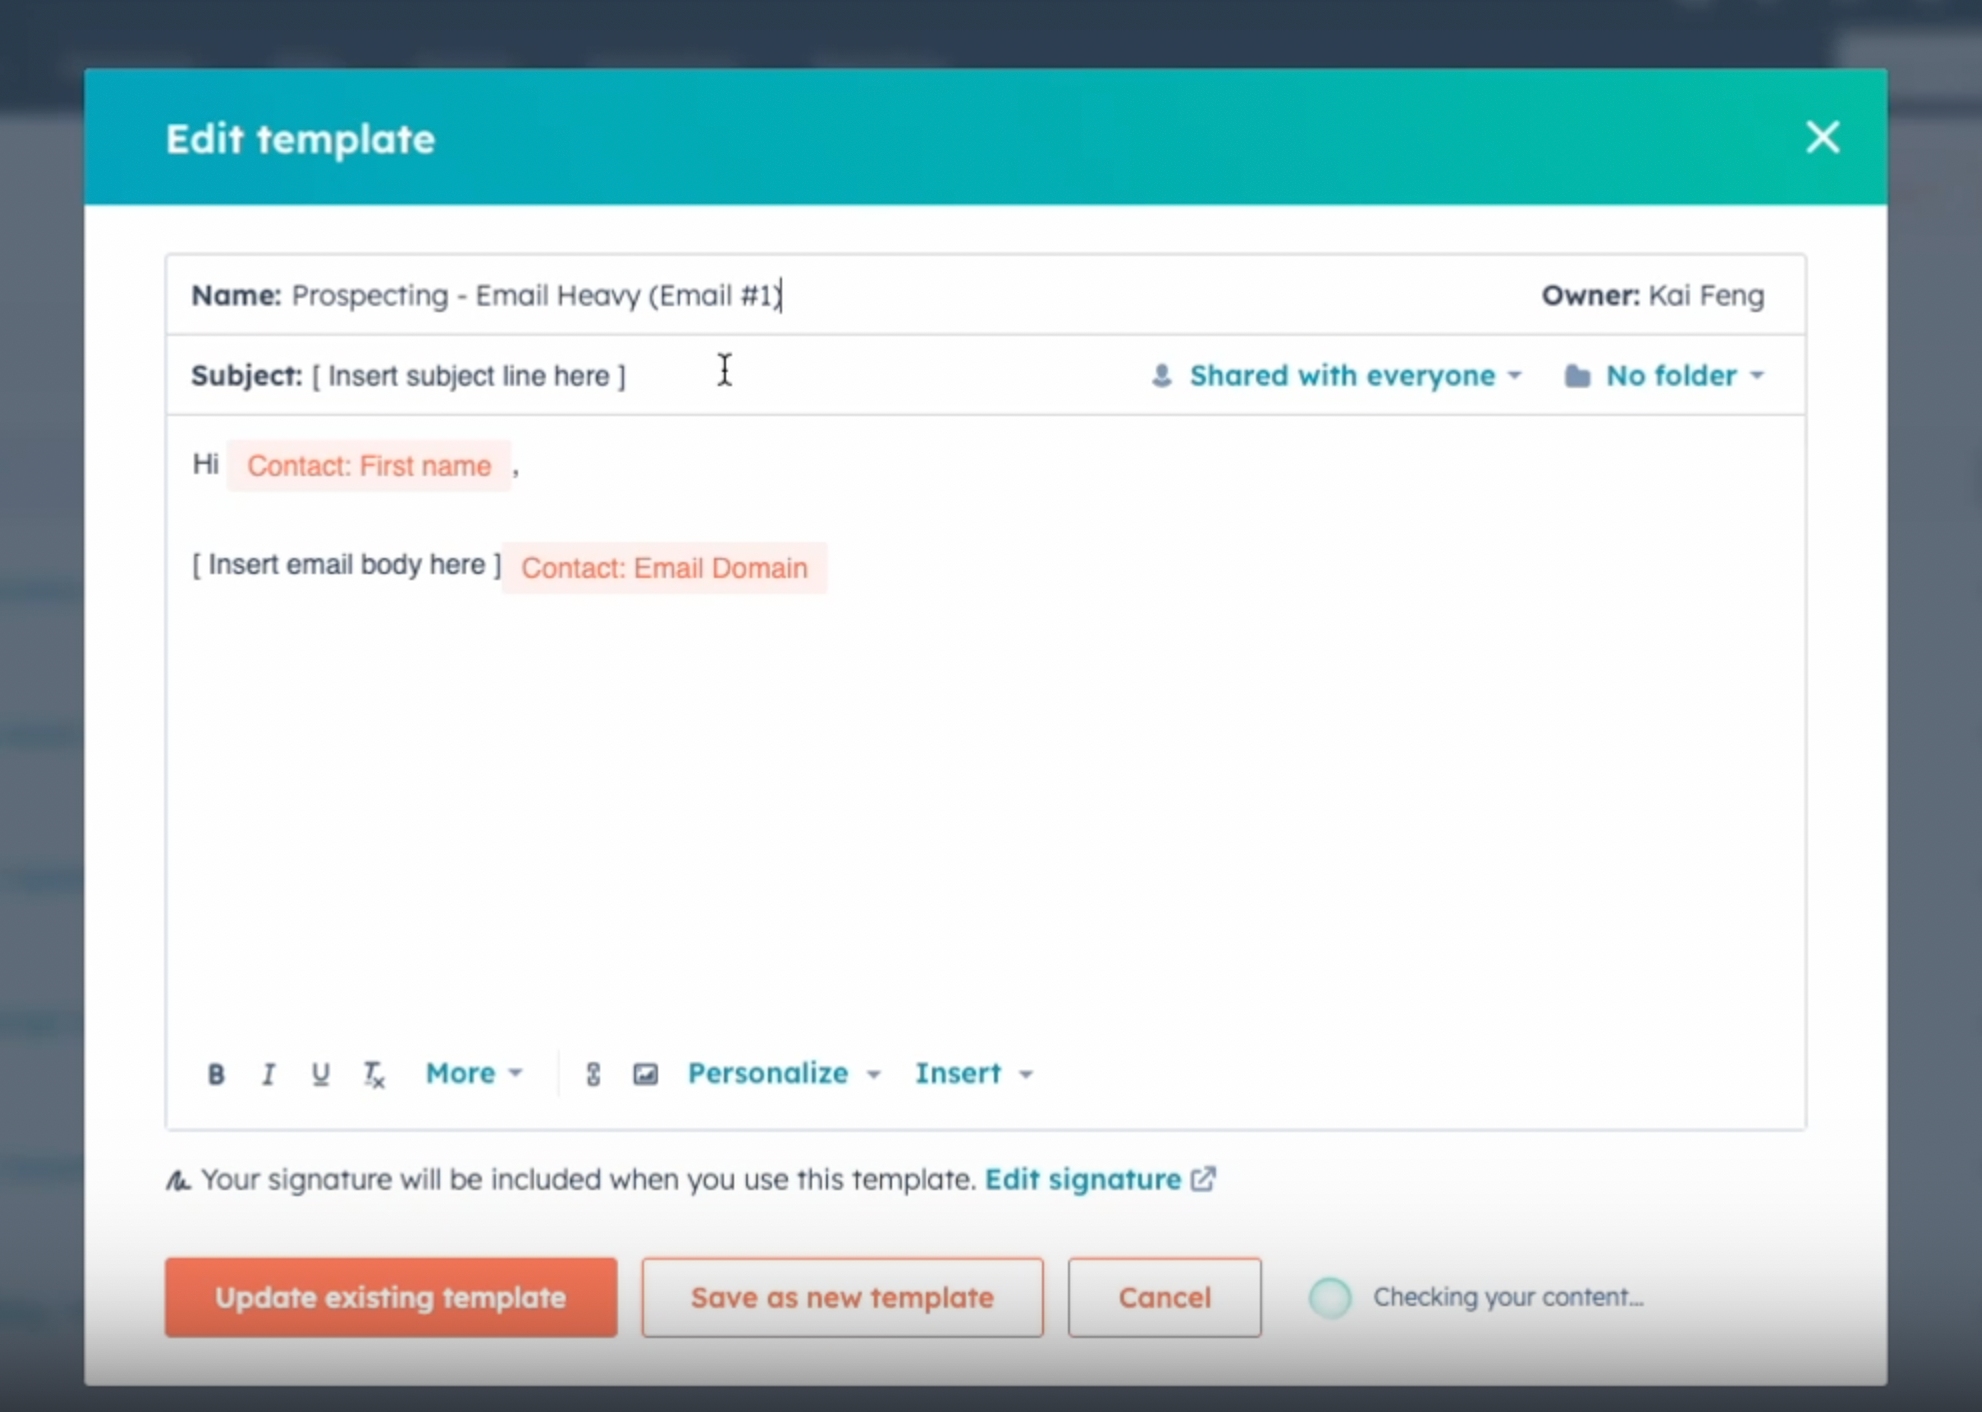
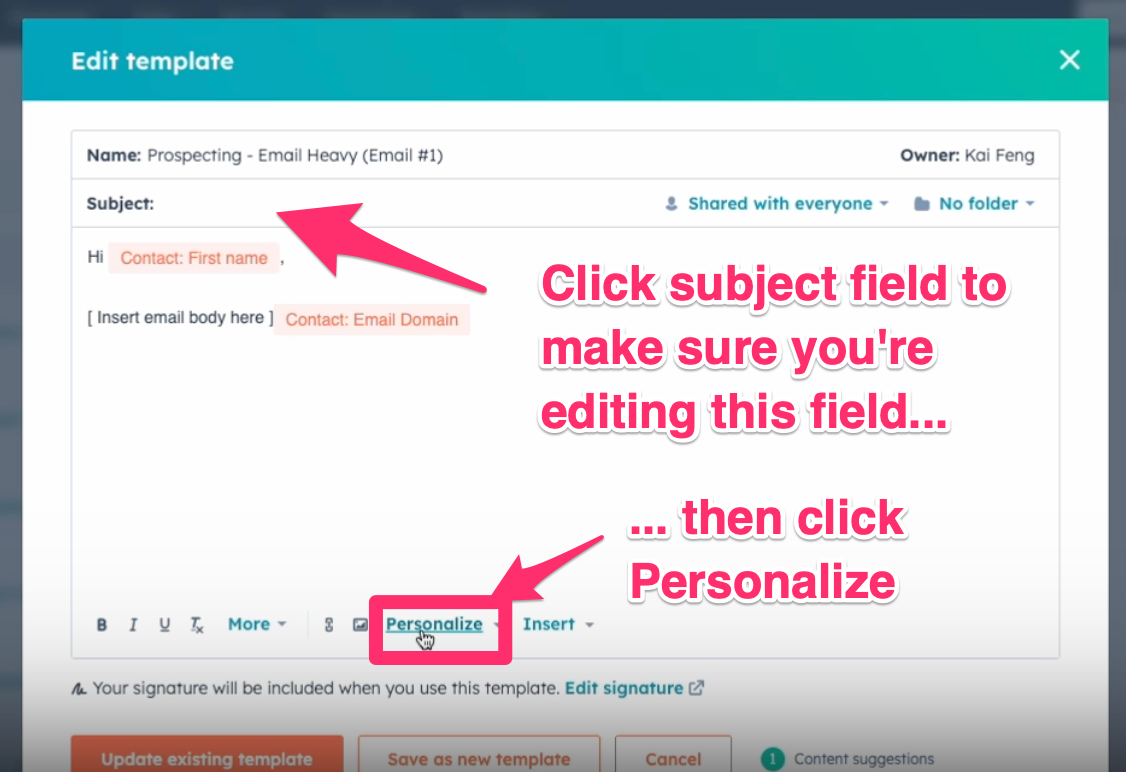
- Insert email subject field - click on Subject field and remove its content, then click on Personalize from the bottom of the editor
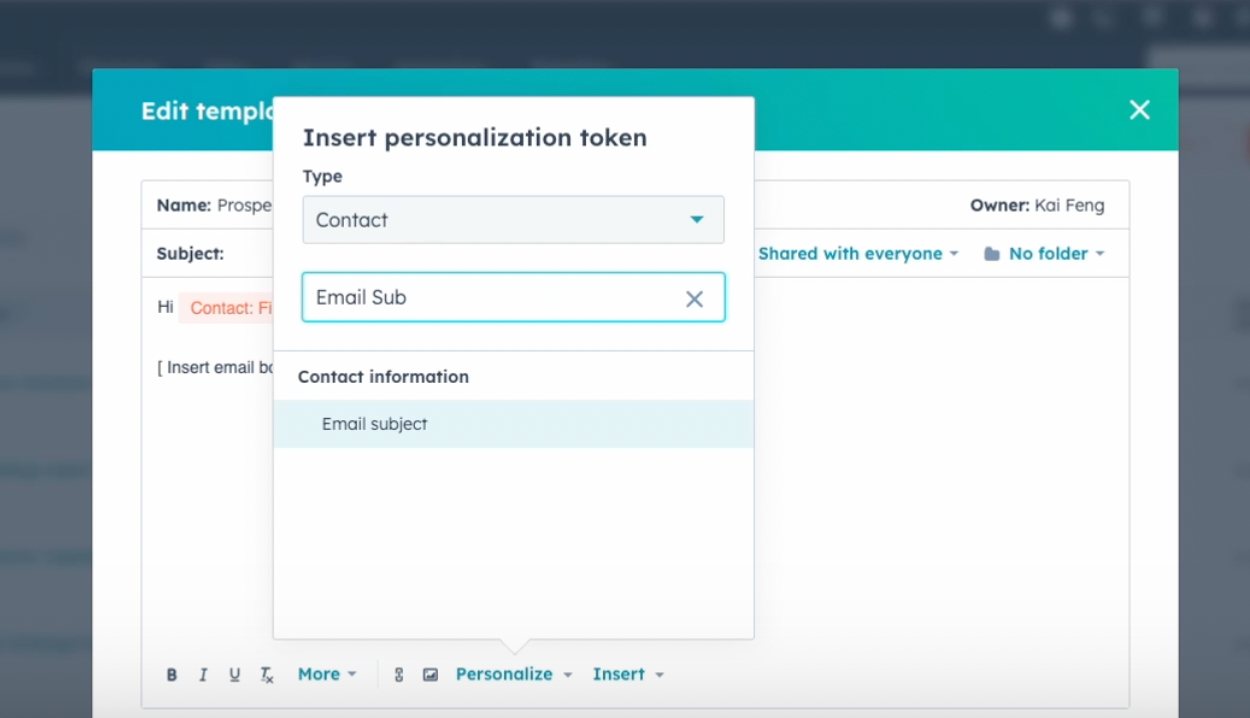
- From the Personalize menu, select the AI field you want to insert (e.g.
Email SubjectunderContactproperties)
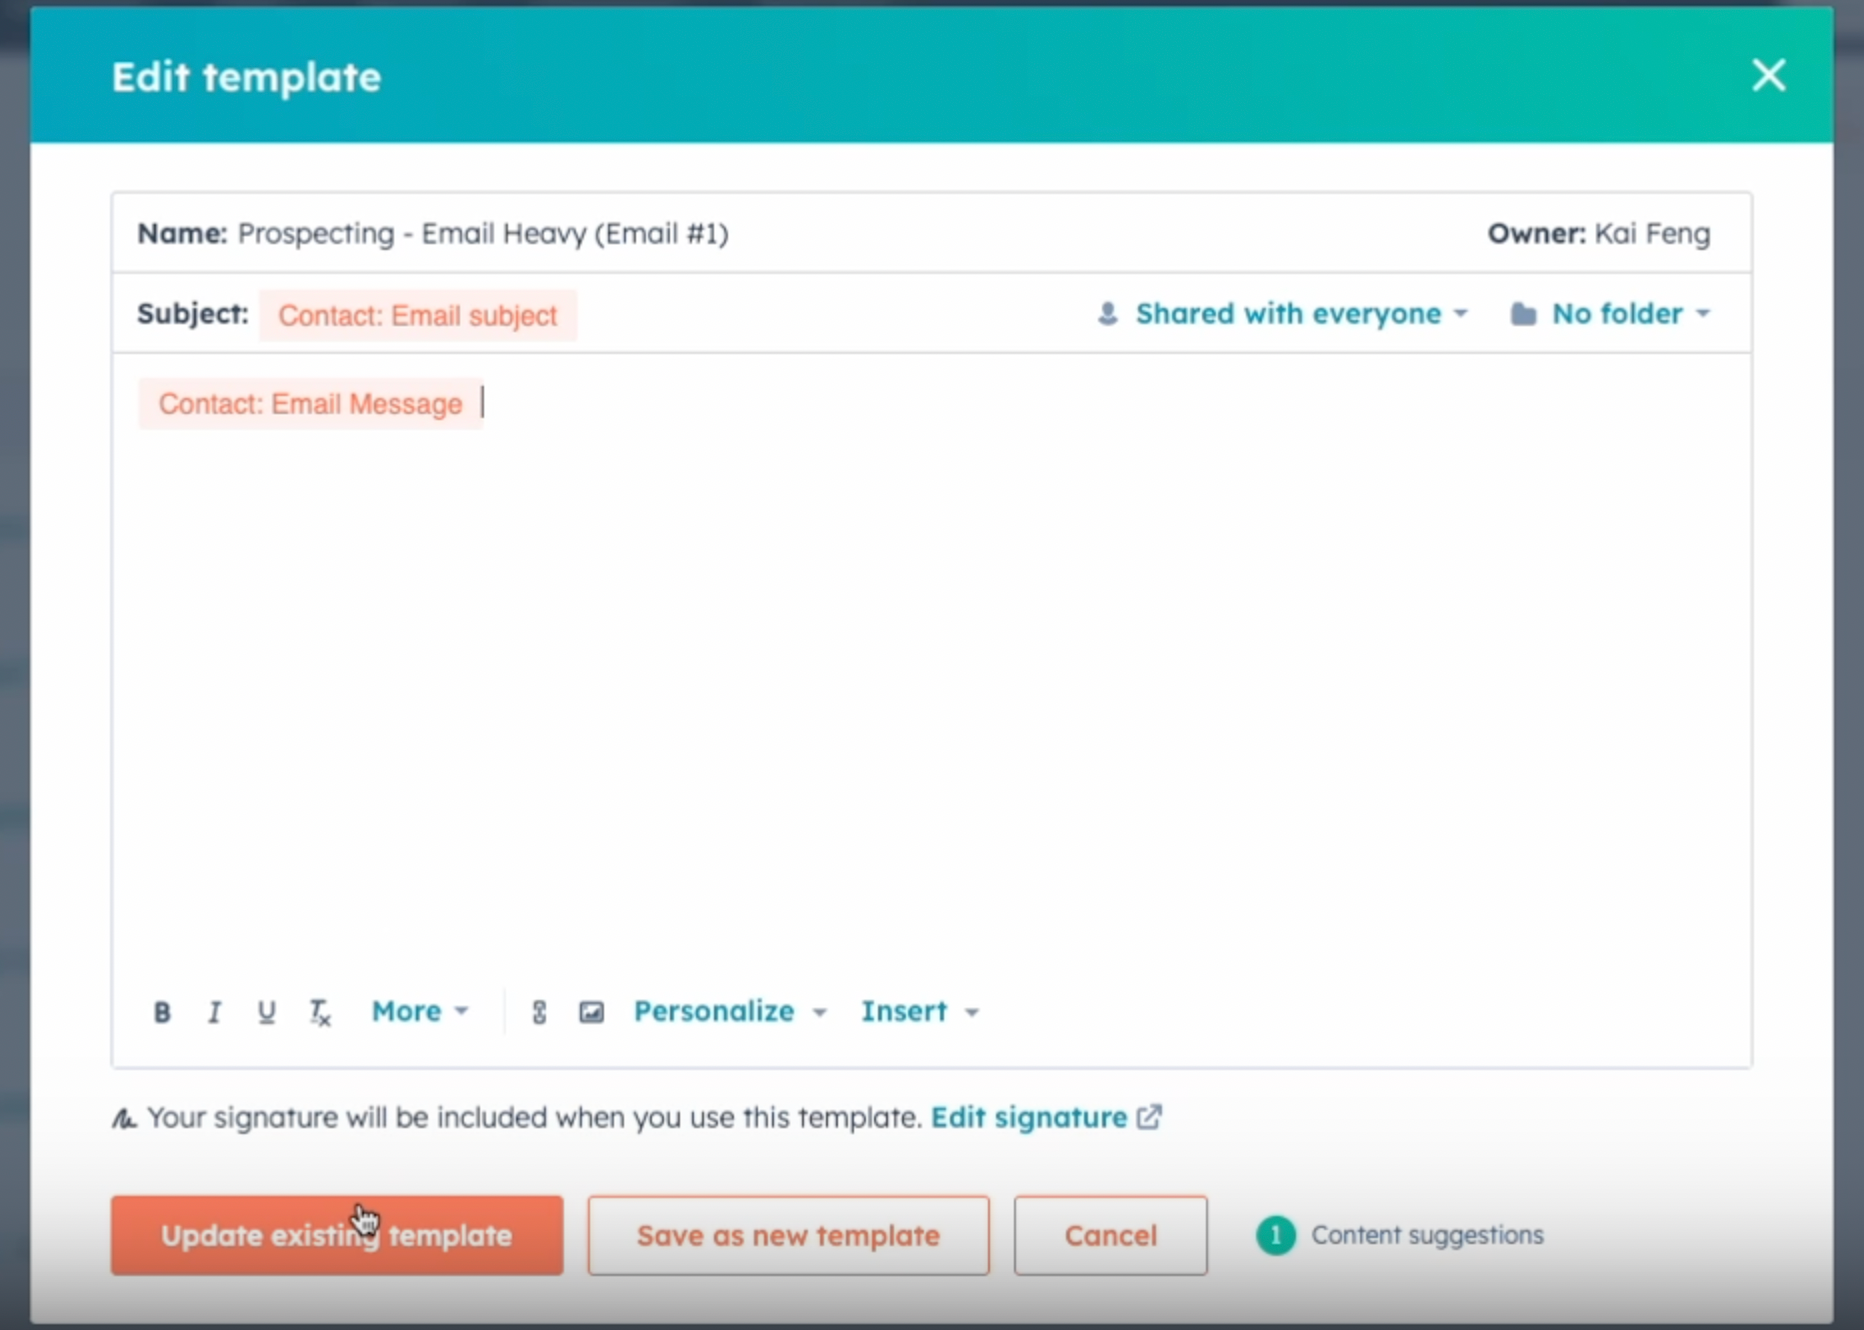
- Delete the email body text, then click Personalize and insert the AI field for message (e.g.
Email MessageunderContactproperties)
- Click Update existing template button to confirm changes
Congratulations! You’ve now learned how to setup AI fields in HubSpot. You can import many AI generated fields from Tuesday into HubSpot and use them to fuel your sales automation now.